Get ready to say WOW! You are going to love making this clever and beautiful foil art for kids! This amazing tin foil art uses a simple technique to make a truly stunning work of art from simple flowers to butterflies, crosses to houses, animals to any picture or design you can dream up. Try making aluminum foil art with preschool, pre-k, kindergarten, and elementary age kids in first grade, 2nd grade, 3rd grade, and 4th graders too. All you need are a few simple materials to make a stunning work of art with this tin foil crafts.

Foil Art for Kids
This is tin foil art project is one of my favorite crafts we’ve ever made. Seriously! This tin foil art is simple to make and lots of fun too. The technique is really easy, but the possibilities are endless. Kids can use their imaginations to recreate something they love, seasonal image, favorite character, geometric shapes – the possibilities for creativity really go on and on with this aluminum foil art. And the end results of the tinfoil art are truly breathtaking! Try this aluminum foil crafts with toddlers, preschoolers, kindergartners, grade 1, grade 2, grade 3, grade 4, grade 5, and grade 6 students.
Plus don’t miss our fun lava lamp experiment, 100 fun and easy food experiments for kids, and pop rocks easy science experiments to do at home,

Tin Foil Art
Whether you are a parent, teacher, homeschooler, art teacher, planning an art day camp, or just filling your summer bucket list filled with epic summer activities for kids – this one-of-a-kind project for kids is not to be missed. All you need are a few simple supplies you probably already have at home:
Supplies
- Cardboard – from an Amazon box, cereal box, or for a perfect shape use a cake board
- glue gun with lots of refills
- Glue cartridges
- Liquid glue (white or clear – doesn’t matter)
- Tin Foil – you will need a roll that is as wide as our cardboard piece
- sharpies markers
We found using a cake board gave us a sturdy, perfect size! Again, you can make a scene from nature, trace your favorite character like Mickey Mouse from a coloring page, make geometric shapes, or whatever else you like. We did ours as an Easter craft and wanted to make a stained glass window project featuring a cross in the center.

Aluminum foil art
Start out by your or your child drawing a picture on cardboard with pen, pencil, marker, or whatever other writing utencil you like – it wont be seen so use whatever you have handy. This helps your child flush out their ideas and tweak anything they want changed.
Directions
Depending on the age of your child, either your student or you as the parent will now trace the lines with a hot glue gun. Now use a glue gun to carefully trace all the lines of your picture. The bigger and more intricate your picture, the more glue you will use and the more time it will take to trace all the lines with glue. Plan that you will need several refills – so plan accordingly.
Foil Art
When you finish tracing the lines with glue, you will have a neat looking picture. Once it is cool to the touch, students will enjoy sliding their fingers over the bumpy picture. Tell them to close their eyes and try to see the picture with their fingers. Help them grasp that blind people would see this tin foil crafts with their hands!
HINT: For an extension activity, have students put a piece of plane white printer paper over top and use a crayon to take a rubbing of your aluminum foil art.

Tinfoil art
Now using a cotton ball, thick paper towel, or paint brush spread a thin layer of liquid glue all over the cardboard from edge to edge. You want glue over every square inch of the cardboard. We used elmers white school glue for our project.

Foil art projects
Now it’s time to decorate your foil art. The next step is to carefully cover your cardboard with a large sheet of foil. Start pressing down in the middle and smooth out so that the glue gun beads are tight and clearly seen with surrounding areas flush with the cardboard.

Aluminum foil crafts
Keep going outwards and tuck remaining 4” on all sides on the back. It already looks so pretty even without the color added!
Hint: If you keep the dull side up it is easier to see the sharpie colors!

Foil art
Use sharpies markers to color on the foil. Don’t color on the glue lines as they will make it “POP”.

Tinfoil art
Remember sharpies are permanent markers so cover your table, furniture, and be mindful of your childrens clothes as well.

Aluminum foil crafts
Keep designs simple for younger children. This not only makes it more developmentally appropriate, but will also cut down on the mess risk of using sharpies.

Aluminium foil art
My daughter choose to make a Disney inspired tin foil art. Can you see Rapunzel’s tower, her long braided hair, and the floating lanterns. I thought this one came out super cool!

Foil Crafts
My son made a stained glass window craft with a cross in the middle. I love the vivid colors in his foil art. This would be a great Easter Craft for Kids or to use with a Medieval Unit for homeschoolers.

Foil Craft
This was a really fun kids activities that my kids wanted to make more of very quickly! Besides making beautiful artwork for our home, it makes a great present for grandparents too!

Create stunning tin foil art with your kids using a simple technique with aluminum tinfoil to make beautiful designs from flowers to animals.


Crafts Ideas for Kids
Looking for more craft projects for kids? Check out these fun ideas!
- Paper Roll Bunny Craft, gorgoue turkey craft, clever spider craftivity, puffy paint pumpkin crafts, stunning corn art projects, yarn wrapped leaf crafts for preschoolers, paper plate apple crafts, mixed medium apple art preschool, gorgeous pasta butterfly craft, or fun puffy paint ice cream craft
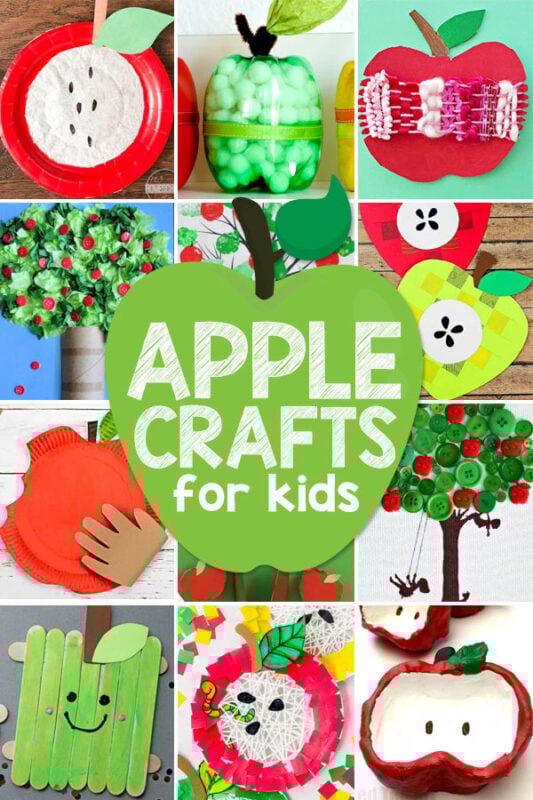
- 100 Amazing Zoo Animal Crafts, lots of cute preschool apple crafts, and easy tin foil art projects are fun-to-make and so pretty!
- Fish craft template, Elephant Craft Bookmark, Painted Flower Craft Preschool, or Creative Pipe Cleaner Crafts kids will want to make, rocket space craft for kids
- Stunning Tissue Paper Rainbow Craft, name craft template for camping crafts for preschoolers
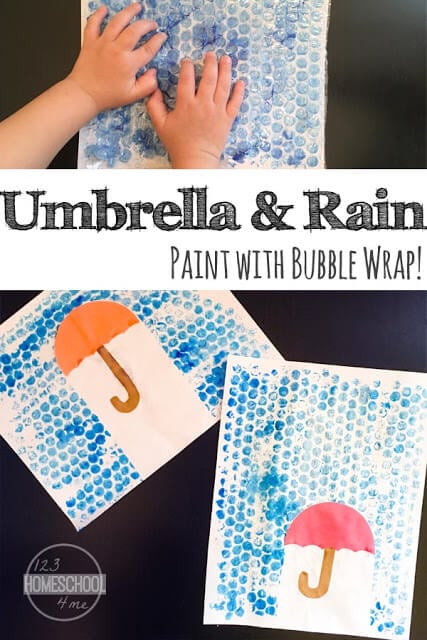
- Bubble Wrap Painting Rain Craft, cute sun craft preschool, outrageously Cute Googly Eye Crafts
- Tissue Paper Butterfly Suncatcher Craft, Star Wars Crafts that are from a galaxy far, far away, Super cute Thing 1 and Thing 2 Craft
- Must-try Popsicle Stick Crafts, Over 100 Fun Spring Crafts for Kids, fun Spin Art Flower Craft for Kids
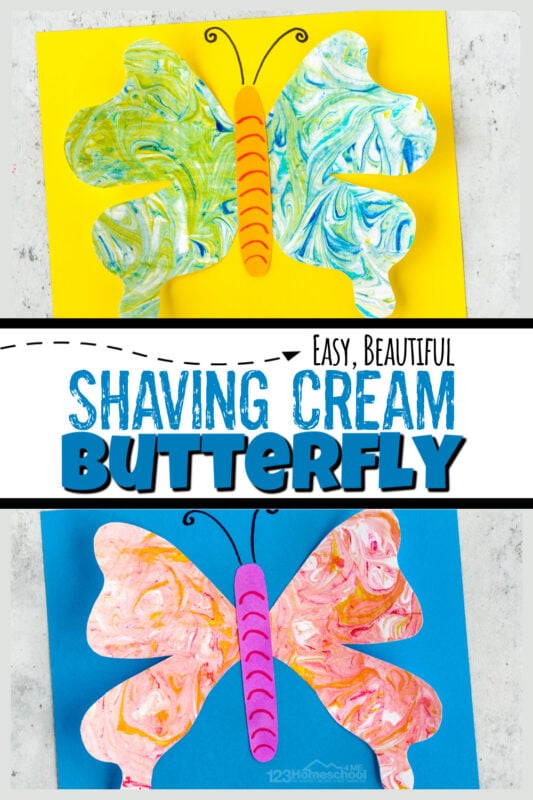
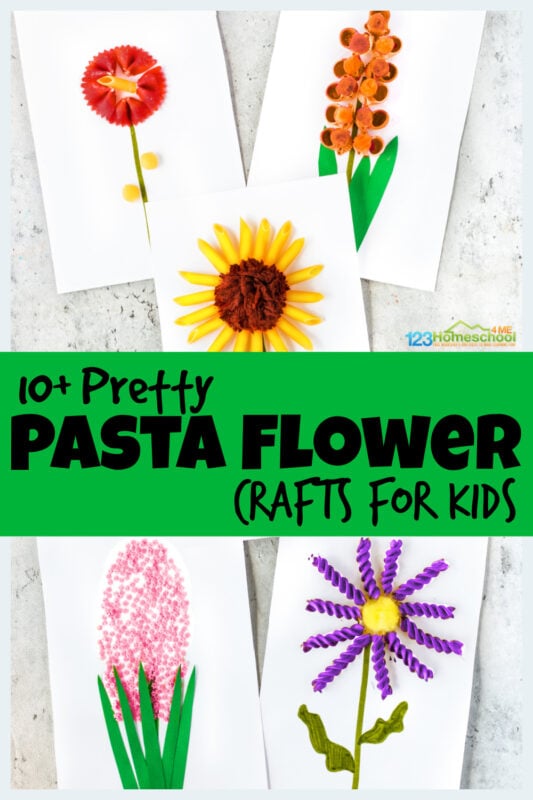
- Spectacular tissue paper fireworks craft, shaving cream butterfly craft, pretty pasta flowers,
- This Monet art project for kids is a fun way to introduce famous artists for kids with a stunning project!
- Lovely Coffee Filter Crafts for kids, check out these toilet paper roll crafts, try these paper plate crafts for all occasions
- Beautiful leaf crafts for preschoolers, clever Fall Crafts for Kids, silly Monster Crafts for kids of all ages
- Cute Handprint Alphabet Crafts, Letter Crafts sorted A-Z, or free printable alphabet crafts
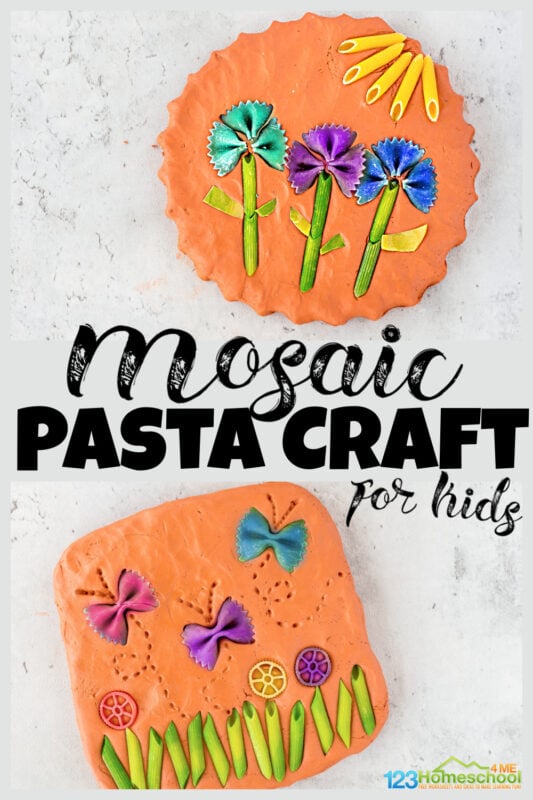
- Hyacinth flower spring crafts, pasta mosaic art, st patricks day art with free template, Dr Seuss thing 1 and thing 2 handprint craft
- Fork paintd snowy owl craft, bubble wrap umbrella craft preschool, wreath printable easter crafts, or turkey hat craft
- See craft ideas by month


