As spring approaches we see a lot of changes in the weater which make it a great time to explore with some fun weather activities for kids and weather experiments for kids to help children understand more about wind, rain, clouds, and more! I’ll show you how to make a weather vane the EASY way, make a homemade compass and more weather kindergarten, preschool, pre-k, first grade, 2nd grade, 3rd grade, and 4th graders will be interested in. So grab a couple simple materials you probably have at home and make this homemade weather vane today.

How to make a weather vane
Are you looking for a fun and educational activity for your little ones? Try making a DIY weather vane! This engaging project is perfect for preschoolers through fourth graders and offers a hands-on way to explore concepts related to wind, weather, and clouds.
Not only is creating a weather vane enjoyable, but it also helps kids relate weather conditions to their daily lives. For instance, if the temperature drops, they might choose to play indoors instead of heading to the park. If there’s a chance of rain, they’ll remember to grab a jacket and umbrella before heading out.
Even young children in preschool and kindergarten can get involved by learning to read a thermometer or creating simple weather instruments like a wind sock or rain gauge. This is a fantastic way to combine science with creativity while keeping your little ones engaged and curious about the world around them.
We have lots more science experiments for kids and weather experiments for kids to choose from! Try our rainbow in a jar density experiment for kids and water cycle worksheets
weather vane craft
Even if they don’t learn the difference between cirrus and cumulus, in today’s fast paced society, every child should spend at least some time cloud watching. This science project will teach you how to make a weather vane.
Historically, weather vanes have been in existence and used to help predict the weather for over 2,000 years. Unfortunately, these predictions are not always very accurate. However, although meteorology is a lot more complicated than the direction the wind is coming from, knowing this information can be used to make better educated guesses about the weather.
homemade weathervanes
For added educational value, kids can easily make their own homemade compass to help orient their weather vane while simultaneously learning something about the Earth’s magnetic field.
For example, if the wind is coming from the north in the northern hemisphere, one might expect the temperature to cool off since average temperatures are typically colder the closer one gets to the Earth’s poles. (In the southern hemisphere, southern winds would be more likely to have a cooling effect.) Conversely, if the wind was coming from the direction of the equator (so the south in the northern hemisphere, north in southern hemisphere), one might predict warmer weather is on its way. If you live near an ocean, wind from that direction might suggest an increase in humidity (the amount of moisture in the air). Whether or not their predictions are reliable, kids can have fun practicing their weather forecasting skills.

wind vane for kids
All you need for this weather project for kids are a few simple materials you already have at your house or in your classroom. So grab your supplies and let me show you how to make a wind vane.
- straw
- unsharpened, unused pencil
- empty circular plastic container with lid (such as sour cream, cottage cheese, yogurt, etc.)
- playdough (enough to fill the bottom of your container about 1/2 inch)
- ball pin
- 1 sheet of card stock
- needle
- refrigerator magnet (ours looks like a silver push pin in the picture above)
- small square piece of Styrofoam (at least about 1″ x 1″)
- bowl
- glue
- scissors
- x-acto knife
- pencil
- markers
- tape (optional)
- ruler (optional)

homemade weather vane
Let’s walk you through the simple steps for how build a weather vane. First, trace the lid of the plastic container onto the cardstock and cut it out. Use the X-acto knife to make an “x”-shaped hole in the lid of the plastic container and use the hole to mark the center of your circle. If desired, draw a compass rose onto your cardstock circle. Otherwise, just label the 4 cardinal direction with N, S, E, and W. Glue the circle onto the lid.

diy weather vane
If desired, cut out and decorate a piece of cardstock to wrap around your plastic container. Ours says, “Which Way Does the Wind Blow?” and I had my kids decorate thier homemade wind vane with a weather theme (storm clouds, sun, rain, lightening, etc.)

how to make a weathervane
Attach the label to the plastic container with tape or glue. Fill the inside of the container with about 1/2 inch of play dough. After the glue dries on the lid, use the X-acto knife to cut an “x” in the center of the paper and push the unused pencil through the lid.

wind vane
Place the lid back on the container, pushing the pencil into the playdough so that the pencil is firmly held in place sticking straight out of the container.
Next, flatten your straw a bit, so that you can see a crease on the top and bottom. (If your straw has a bendy section, cut if off first.) Using the creases as a guide, cut a small slit on the top and bottom of each end (4 slits total). Each slit should be about 1/4 inch in length.
Cut out a square and triangle from the cardstock to make an arrow’s tail and point. Our square was 3″ on each side and our triangle had a 2 inch base and a 1.5 inch height. However, the exact dimensions (and even shape) are not really that important. What is important is that the tail of the arrow is much larger (has a greater surface area) than the point.
Decorate the tail and point if desired.
Place the square and triangle onto the ends of the straw. Add a little glue along each slit for added security.

Weather compass
Using the crease in the straw again as a guide, push a ball pin through the straw and into the pencil, doing your best to make everything as straight as possible. Since the square end of the straw is heavier than the triangle, placing the pin a little closer to that end will help it be better balanced and remain straight instead of tipped. Our pin is located about 1/3 of the length of the straw (about 2.5 inches) from the square end (2/3 of the length (about 5 inches) from the triangle end).

compass craft ideas
Now that I’ve showed you how to build a weather vane, your weather vane is ready! Before you use it however, you’ll want to orient the directions properly so that you know which direction the wind is coming from. To do this, you could use your own compass. However it is more fun to make your own.

how to make a compass
The first thing you need to do to make your homemade compass is to magnetize your needle by rubbing the magnet in the same direction from one end of the needle to the other for about a minute. (Do not rub it back and forth.)
Next, glue the magnetized needle onto the Styrofoam.

how to make a compass for school project
After the glue dries, place the Styrofoam and needle into a bowl of water and the needle will line up with the Earth’s magnetic field which runs between the North pole to the South pole. You can check the accuracy of your homemade compass with a real compass.

How to make a compass at home
Unfortunately, you will not know which end of your needle is north and which is south, so hopefully you will have a vague idea which direction is north already. Or use the sun as a guide, remember the sun rises in the east and sets in the west.
Once you know which direction is north, simply orient your weather vane so that your compass rose is properly aligned.

how to make a wind vane easy
The way the weather vane works is that the wind is more likely to push the tail end of the arrow than the point end since the tail end has greater surface area. The wind pushes the tail in the direction it is blowing, causing the arrow to point in the direction the wind came from. Kids can test this by simply blowing on the weather vane and seeing how the arrow always turns to point back at them. Have fun watching your kids be young meteorologists!


Science for Kids
- Quick and EASY Lemon Volcano – a fun twist on classic volcano science project using acidity of lemon instead of vinegar as the acid
- 100 Amazing Food science experiments for kids – arranged by type of science
- Colorful Capillary action science experiment (also known as walking water)
- EASY Magnetic Field Sensory Bottle that will WOW your kids!
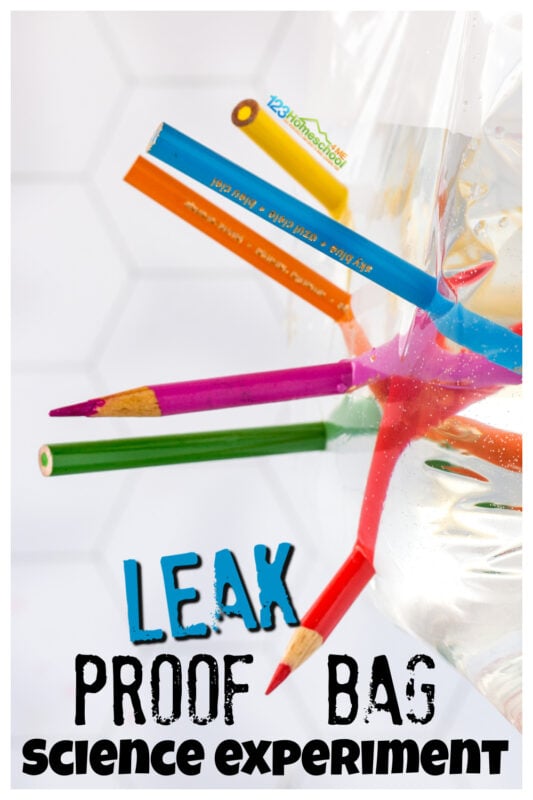
- Leak Proof Bag – Amazing Science Experiment with Everyday Materials
- Exploring with Magnet Experiments for Kids
- Amaze kids with these 12 Hands on Science experiments with batteries
- 24 Epic Solar system science projects to try this week
- Fun Water balloon science experiment that explores density
- Amazing, heat-sensitive color changing slime
- 50 Fun Preschool science experiments the whole family will want to try
- Simple Galaxy science project
- Easy and Fun Dancing Raisins Experiment
- Learn about weather as you find how to make a weather vane
- Eye opening Eye science experiments
- Easy-to- make Air pressure science project
- Amazing POP rocks science experiment is one of our all-time favorite science experiments we like to do during the summer are
- Stunning Chromatography Flowers are so pretty you’ll forget it was as science project!
- How to Make a Lava Lamp – super easy and SO cool!
- 30 Simple machines science projects kids will want to try
- Easy, fascinating, and colorful project answering Why do Leaves Change Color Experiment
- Free Printable Animal Classifications for Kids Cootie Catchers
- 19 Edible science experiments – which delicious project will you try first?
- HUGE Free Solar System Unit (coloring pages, hands on science projects, worksheets, and more!)
- Pipe Cleaner Constellation Activity (As seen on Good Housekeeping!)
- Teach kids about conductivity with this fun squishy circuits projects
- Amazing, Heat Sensitive, Color Changing Slime
- Life Cycles for Kids (from penguin to sunflower and spider to turkey we have LOTS of life cycles to explore and learn about)
- EASY, Colorful Oil and Water Science Experiment
- Kids will be amazed as you change colors of white flowers with this Dying Flowers Science Experiment
- This super cool Lego Zipline is fun and simple to make
- Human Body Project
- Check out this super cool look INSIDE a Volcano Project
- Exploding Watermelon – science experiment that explores potential and kinetic energy with a big WOW moment!
- Memorable Life Size Skeletal system science project – includes free printable template
- Mind-Blowing Magnetic Slime for Kids, free lab report template
- 5, 4, 3, 2, 1, BLAST OFF! Rocket Baking Soda and Vinegar Experiment
- Find LOTS more Easy Science Experiments for kids of all ages!


Thank you for sharing this fun, and useful craft!! I can’t wait to make these with my grandchildren!
Thanks